In this short tutorial, we will show very simple image processing by using Astro Pixel Processor. You will learn how to create a Bad Pixel Map and master calibration frames, how to register and normalize images, and how to create an integrated stack of data into a final image. The processing method was done on very bright double cluster in Perseus (NGC 869 in NGC 884), which is also very suitable target for beginners.

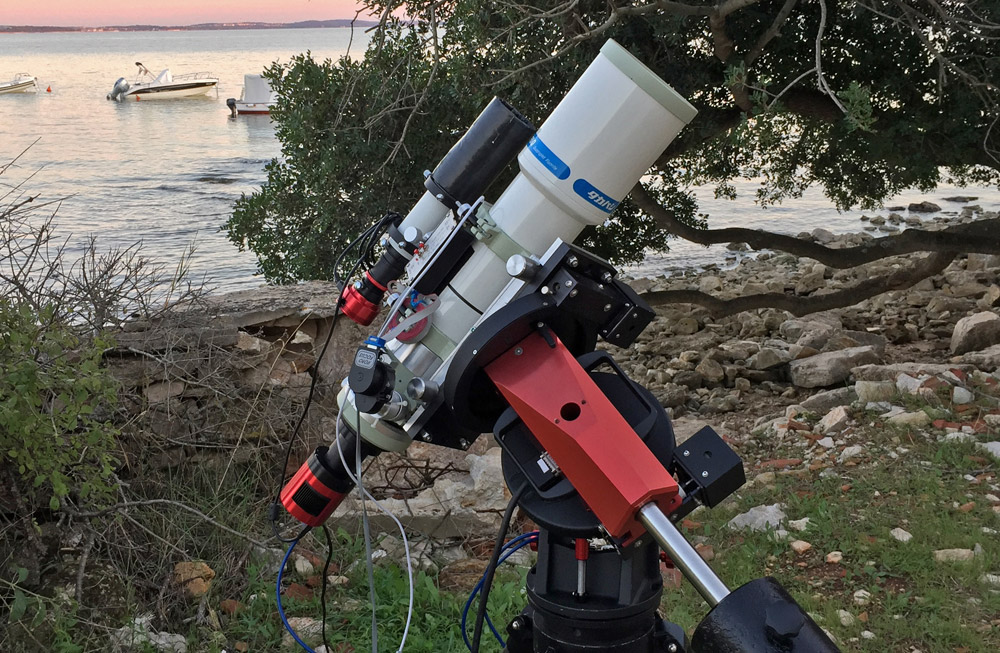
The images were taken with 106-mm f530-mm refractor, G42 Observatory+ and cooled colour CMOS camera ASI071MC (only UV-IR filter was used), for guiding was used small 50-mm f200-mm refractor with ASI224MC.
Observing conditions during the imaging session were not perfect, due to high humidity and light pollution. We have collected 25 BIAS images, 25 DARK images, 20 FLAT images and 72 light images (exposure was 100 seconds, total 2 hours). Below are written all the processing steps. For your practice you can download all raw files. The Astro Pixel Processor (APP) software you can download from APP software homepage.
Processing steps (workflow PDF):
1. Set your working directory
2. Under the tab RAW/FITS you have to select RGB, Adaptive Airy Disc and checked force CFA.
3. Under the tab LOAD you can load your images from your working directory: light, flat, dark and bias.
4. Under the tab CALIBRATE check create Bad Pixel Map and then click calibrate.
5. Under the tab CALIBRATE set average and sigma clip for MASTER BIAS, DARK and uncheck create Bad Pixel Map, then click button calibrate.
6. Under the tab ANALYSE STARS set kappa on 0.5 and then click button analyze stars.
7. Under the tab REGISTER you have to set a reference image for registration. Then click set reference, click Yes, and then select appropriate image from your list below, click OK. Also check use dynamic distortion correction and same camera and optics, then click on the button register.
8. Under the tab INTEGRATE you define the weight (equal, quality, etc.), set LNC degree and outlier rejection on sigma clip, then click on button integrate.
9. You have successfully integrated all 72 images in one final stack image.
10. On the right side of the program window, you have settings for the non-linear data stretch, saturation, sharpening, etc. Under the tab TOLLS you also have few very powerful tools: correct vignetting, remove light pollution and much more.
Above we have described only very basic processing steps. But anyway, we have got a very nice image of double cluster in Perseus. Don’t you agree? Be curious and experiment with your own (or our) data in Astro Pixel Processor and share your results with us!
Cool
I wanted to try APP, but despite the online tutorial from the developer, it has been a challenge… will try your workflow
I did take as well a shot to the double cluster a few nights ago with ASI071, but was a disaster… the ASI071 has big condensation problem on the front window. Even with cooling at 5 Deg C, after 30 min I start developing condensation ring (24C, 70% rel humidity), and it has been the same all summer. Cant use it for >1hr w/o getting condensation on the front window
Interesting that you were able to use it properly in “high humidity”
1
0
that’s a pity, we will provide upgrade service for old 071 user after we release 071 Pro camera which add DDR buffer and better design
1
0